|
|
Post by KRAZY RICK on May 28, 2012 19:44:36 GMT -4
Wow, this looks great Bernard, As far as a booth........I have one; I don't paint inside it; I just aim at it; I have an industrial fan in the window above it & on the opposite wall a window; that I open a crack to get cross ventilation
|
|
Deleted
Deleted Member
Posts: 0
|
Post by Deleted on May 29, 2012 3:11:45 GMT -4
as far as the spray booth is concerned l don't think you really need one
not for the amount of painting l do l simply have a 2'X 2' square timber box with and fan and a vent tube going to the roof much like the cloths dyer set up
any back to you build that's looking really nice Bernard can't wait to see it done
|
|
Deleted
Deleted Member
Posts: 0
|
Post by Deleted on May 29, 2012 3:28:37 GMT -4
l got a chance to put some more hours in on my build on the weekend l ended changing the color on it the paint l used on the first paintjob the orange peel just would not go away l ended painting with some Boyd's pearl that l had sitting around l also decided to make a tube grill for it as l really didn't like the kit piece and added some mesh for the radiator onto the interior painted the tuck and roll body color also added some sky blue piping and black carpet added the rear seat from the big tub l thought it looked much better than the bucket seats from the big "T" and also add the console from the big "T" as for the bash l decided the it need something l extend it about a 1/4 and plan to put a turned aluminum dash insert in as well l still need to turn some air cleaners for it and l have nearly finished the exhaust which will be swooped going to the top of the bucket and either put wood floorboards on or just make a canvas cover for the bed depends have much time l have     |
|
|
|
Post by BERNARD "HOT ROD" KRON on May 29, 2012 8:22:00 GMT -4
I like the changes you are making as you go along. Can't wait to see it done!
|
|
|
|
Post by KRAZY RICK on May 29, 2012 12:27:02 GMT -4
Looking real Good Sammy !!!
|
|
|
|
Post by BERNARD "HOT ROD" KRON on May 31, 2012 19:10:00 GMT -4
Thanx guys. Got the motor done. Here are some pics. Thanx for lookin', B. 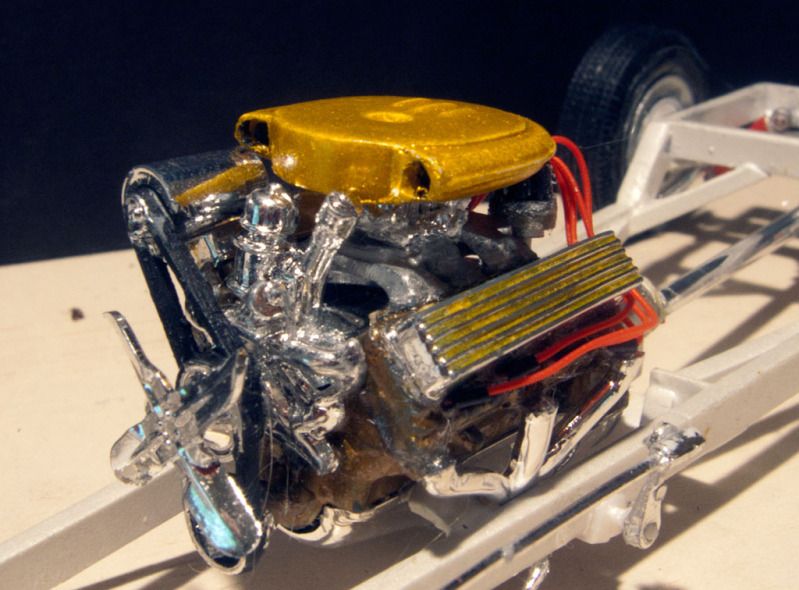 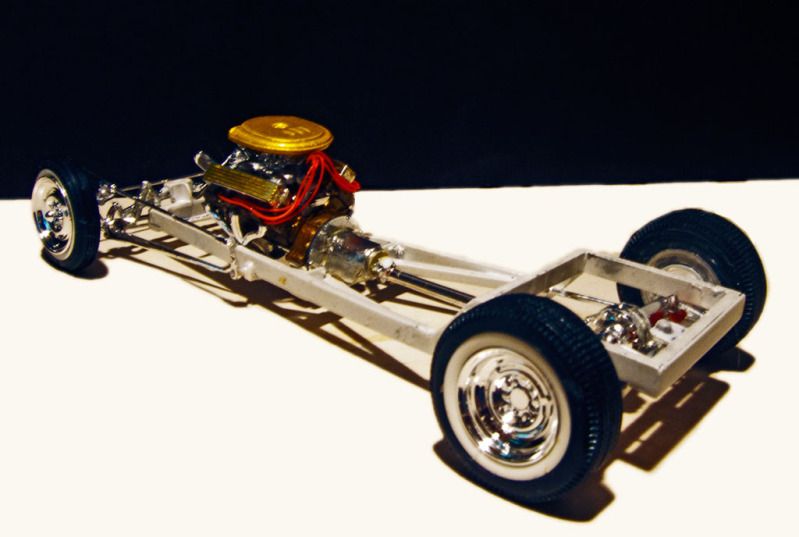  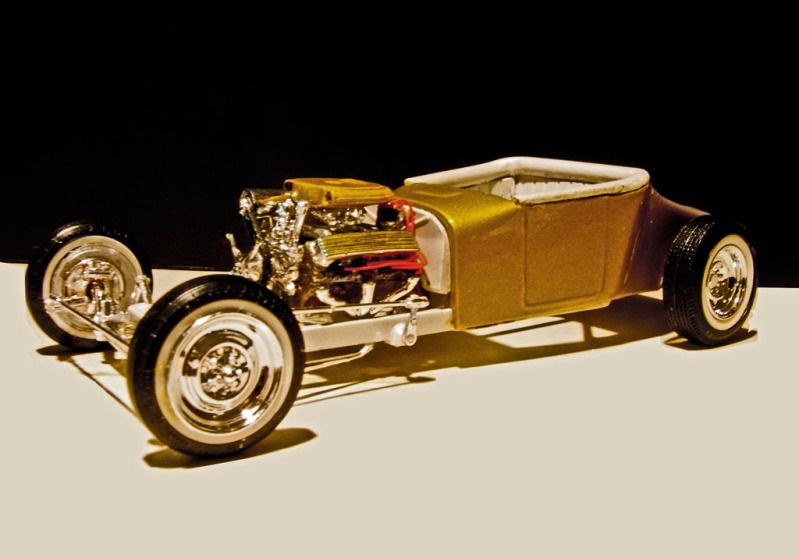 |
|
|
|
Post by KRAZY RICK on May 31, 2012 21:38:40 GMT -4
SLICK STUFF !!!!
|
|
|
|
Post by BRITBOY on Jun 1, 2012 6:32:19 GMT -4
Wow! looks like the chroming shop has been busy with that engine!
|
|
Deleted
Deleted Member
Posts: 0
|
Post by Deleted on Jun 1, 2012 10:38:08 GMT -4
you guys are doing fantastic work on these keep up the great work guys !!
|
|
|
|
Post by BERNARD "HOT ROD" KRON on Jun 6, 2012 1:19:56 GMT -4
Thanx guys! I had a set back which at first I thought was major, but which turned out to be minor. The parts pack headers I used were nice and shiny and fit the chassis OK, but when I tried the floor pan assembly it turned out the headers forced the engine a little too far back to allow the transmission to fit in the floor tunnel. Short of moving the engine mounts or rebuilding the floor pan, neither of which I wanted to do since they're fully painted out and had required a great deal of work to fabricate, I needed headers with a rearward exit on the driver's side. The solution was to use the set from the Revell '49 Merc. The good news is a friend of mine had some to spare which he sent me. The bad news is that I lost the chrome plating. I finished them in Metalizer aluminum plate and gave them a good buffing. Because the headers are tight against the engine block the result is quite acceptable. With the engine properly placed and the header outlets set, I got down to making the side pipes from aluminum tubing. The pipes were then polished out to a chrome like shine using polishing cloths and a final polish with Simichrome. Here's the result. Thanx for lookin', B. 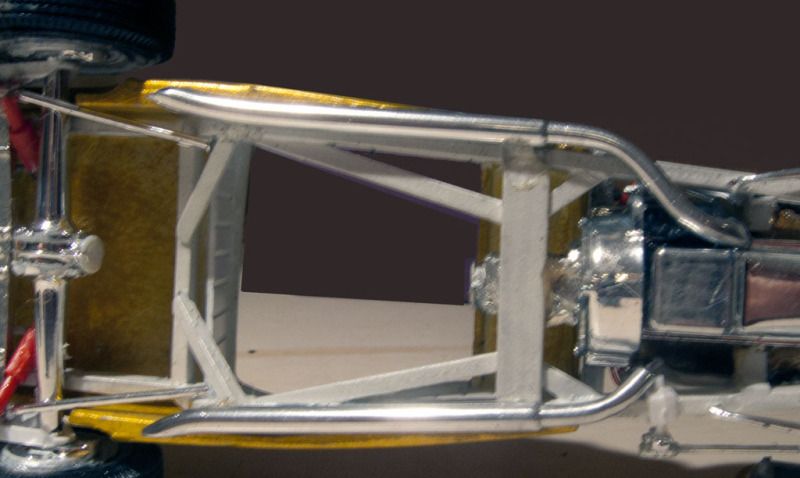 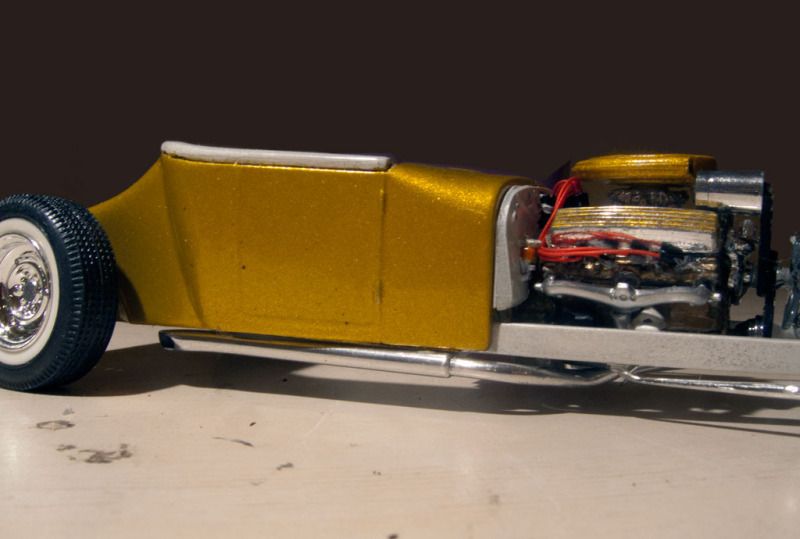  |
|
|
|
Post by KRAZY RICK on Jun 6, 2012 10:19:12 GMT -4
That is really beautiful work !, again; your passion for our hobby really shows Bernard; Thanks Much  |
|
Deleted
Deleted Member
Posts: 0
|
Post by Deleted on Jun 8, 2012 21:25:14 GMT -4
Bernard that is just outstanding
you really hit the mark with this build
and lots of chrome as well
|
|
|
|
Post by BERNARD "HOT ROD" KRON on Jun 10, 2012 14:06:52 GMT -4
Thanx again, guys! The Rumble Rod is nearly done. I'm down to the final thrash, fitting details like the headlights and taillights, license plate, steering wheel, dash gauges. grill, and windshield. The stuff that starts to generate flaws and fit issues. This one's no exception. I will say that the windshield and headlights in particular really change the look of the car, but I'll save that for the reveal! And , much to my relief, it does look like I intended it to. In the meantime here's a pic with the grill shell painted and mocked up in place. I continue to experiment with black bases and backgrounds in my photography and this picture is part of that. I should have the RR done by next weekend unless I screw something up real bad... Thanx for lookin', B. 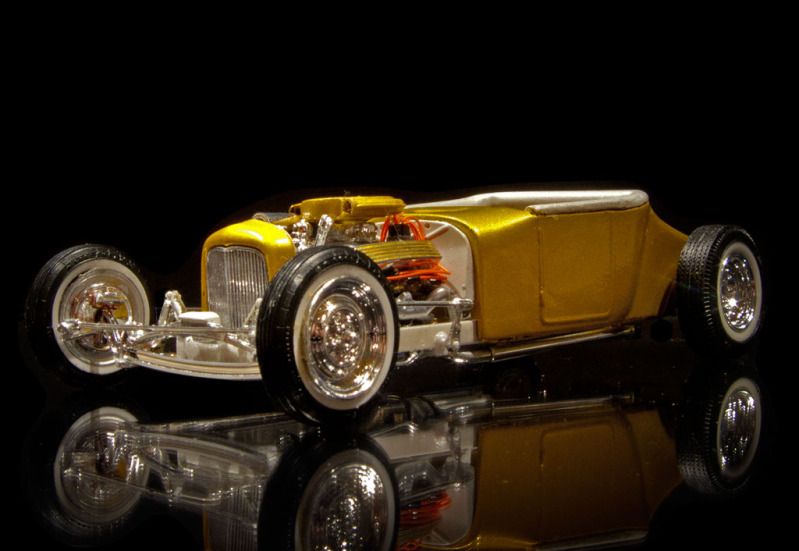 |
|
|
|
Post by KRAZY RICK on Jun 10, 2012 15:52:35 GMT -4
Very Clean !!!!
|
|
|
|
Post by BERNARD "HOT ROD" KRON on Jun 13, 2012 0:56:16 GMT -4
Thanx Rick! I'm about done. Some cleanup and detail work left to do but basically the look is complete. Here's a detail pic of the interior and a couple of old-timey color pics with the windshield and lights in place as a teaser. Thanx for lookin', B. 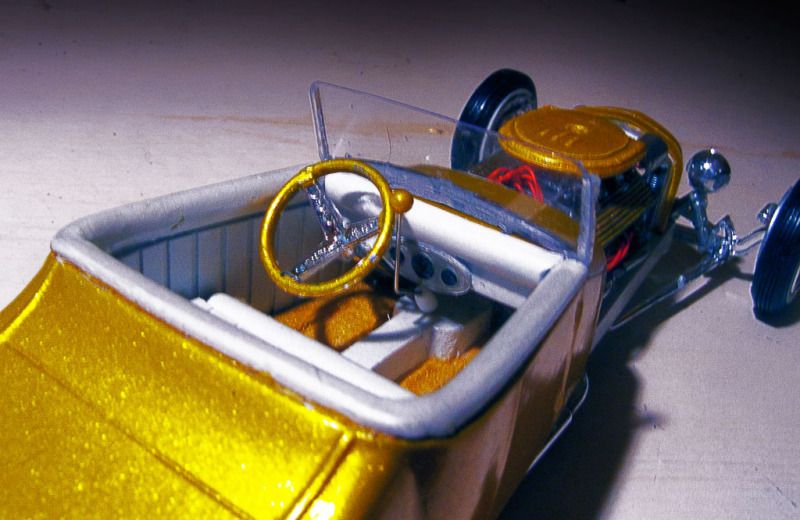 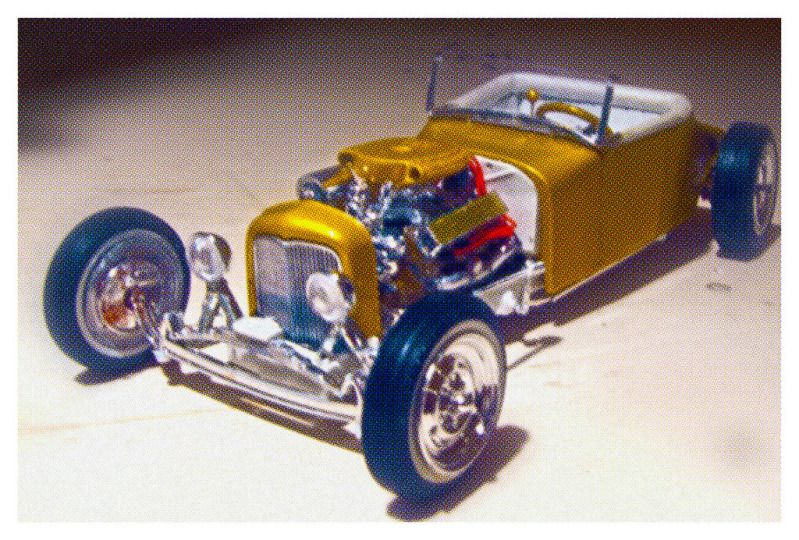 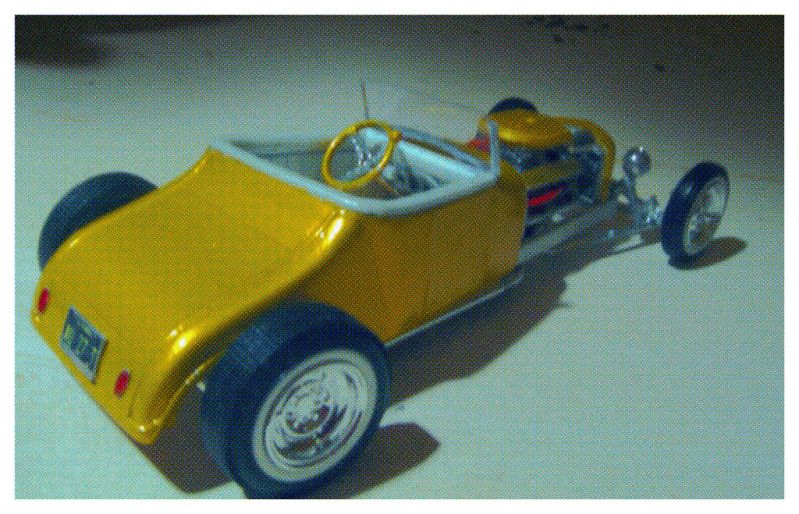 |
|
|
|
Post by KRAZY RICK on Jun 13, 2012 7:10:09 GMT -4
SUPERB !!!
|
|
Deleted
Deleted Member
Posts: 0
|
Post by Deleted on Jun 13, 2012 9:20:45 GMT -4
awesome looking build !
|
|
|
|
Post by BRITBOY on Jun 15, 2012 12:48:42 GMT -4
Drat, with a side order of Dang! This little puppy won't make the deadline, sorry Rick. It will be done by the end of the weekend (so the theory goes) just not when I planned to have it done.  |
|
|
|
Post by KRAZY RICK on Jun 15, 2012 15:06:39 GMT -4
 That is really nice Harley !!! I dig that color, looking forward to seeing this done - don't sweat it, I've had my hands full too. 
|
|
Deleted
Deleted Member
Posts: 0
|
Post by Deleted on Jun 16, 2012 8:30:26 GMT -4
another lost cause sorry from down under as well to little too late  |
|