Stacey David's Rat Roaster Revisited - 3-31 Done!
Mar 2, 2013 21:26:26 GMT -4
Post by BERNARD "HOT ROD" KRON on Mar 2, 2013 21:26:26 GMT -4
Revell has finally given us a “new tool” Deuce Roadster in the form of the Stacy David Rat Roaster. Just in time, too, as the old highboy roadster kit has become quite scarce. Recently, when I was at the NNL West there were absolutely none of the old kit to be found! So the Rat Roaster is what we will have going forward.
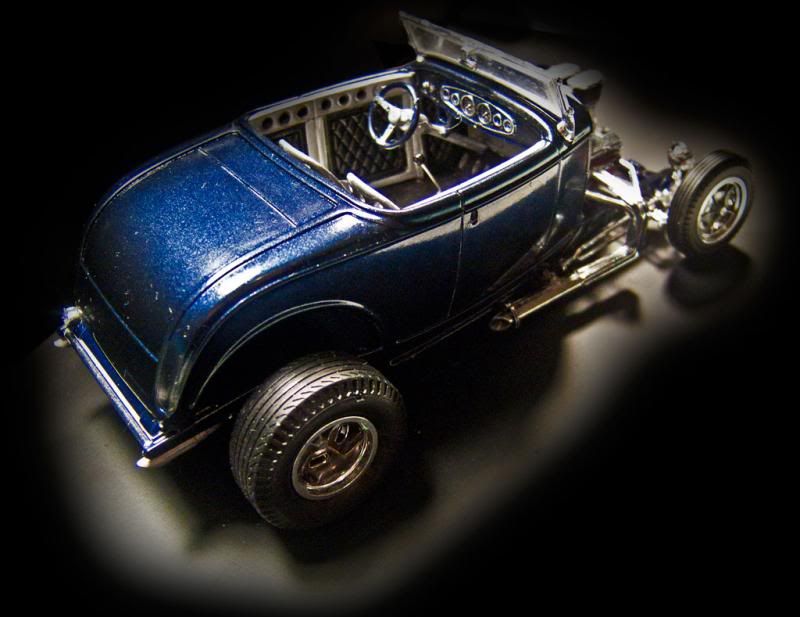
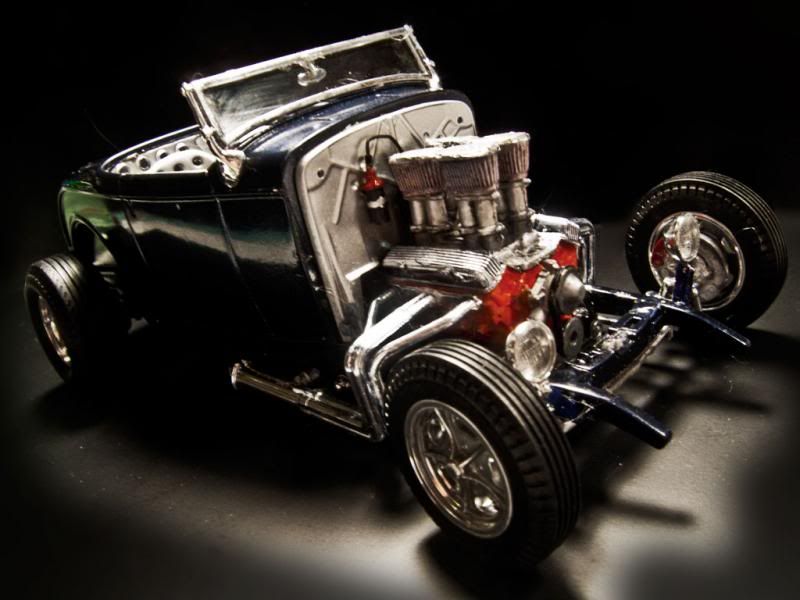
I must admit to mixed feelings about this kit. The 1:1 is highly stylized, a very contemporary vision of a 60’s style ’32 Ford highboy roadster. Definitely one man’s taste, with it’s massive exhausts and intake trumpets, the B&M blower, the polished bare metal “chrome” molding along the bodyline, and the oval ports atop the hood. Unfortunately, many of these details are not to my taste, and some, like the hood top ports, are not easily undone without either extensive bodywork or reaching into the parts box. The interior, too, is aggressively done and very much in the modern style. But it is more to my taste than some of the other details. So I decided I would do a “version” of the Rat Roaster, keeping the details that I like and changing the details that I don’t like. This isn’t a “backdating” of the car, but rather a revisiting of the basic style of the 1:1, toning down some of the details, and emphasizing some of the others.
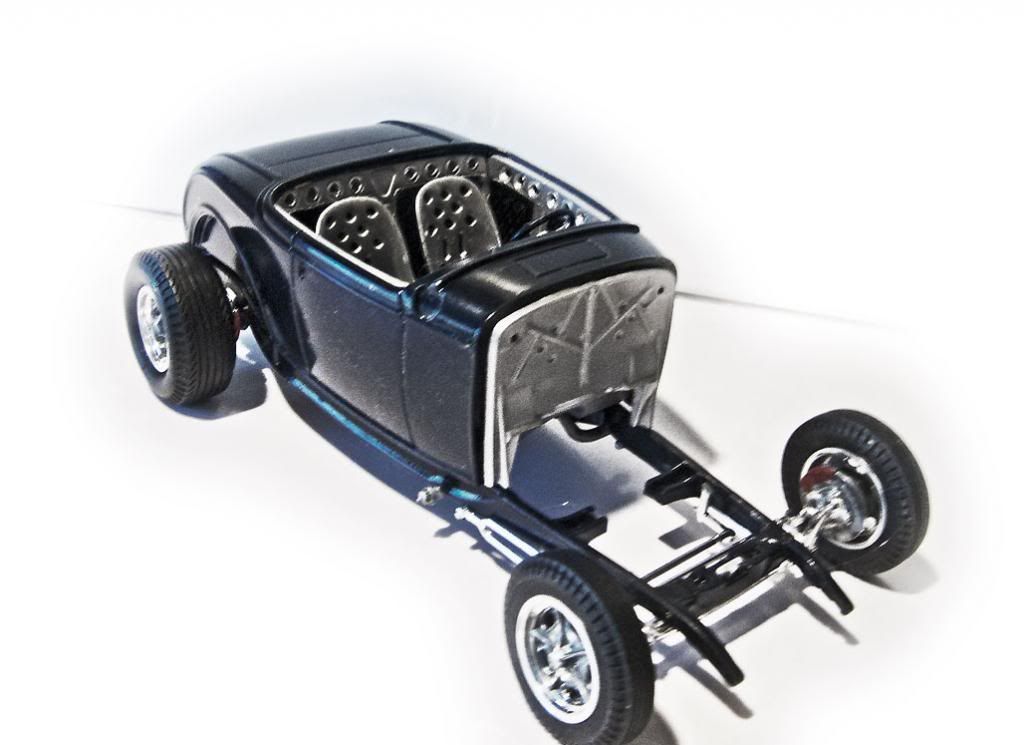
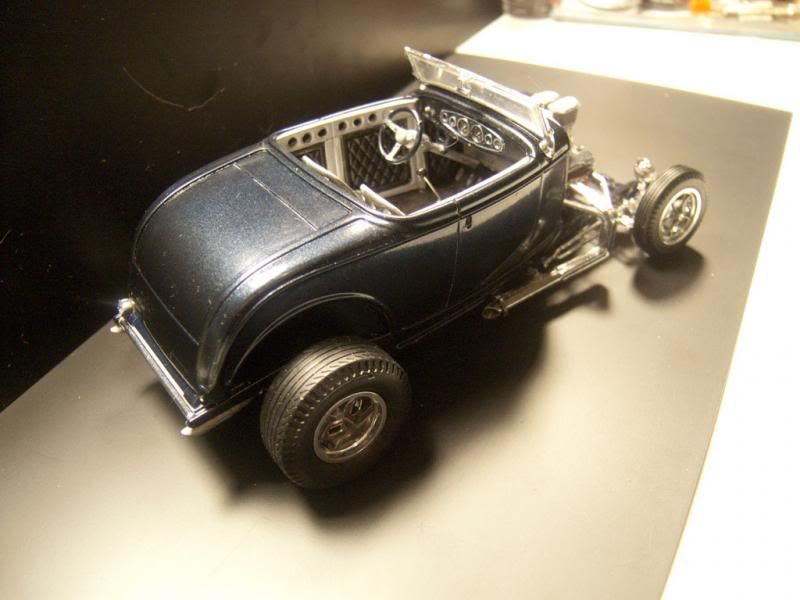
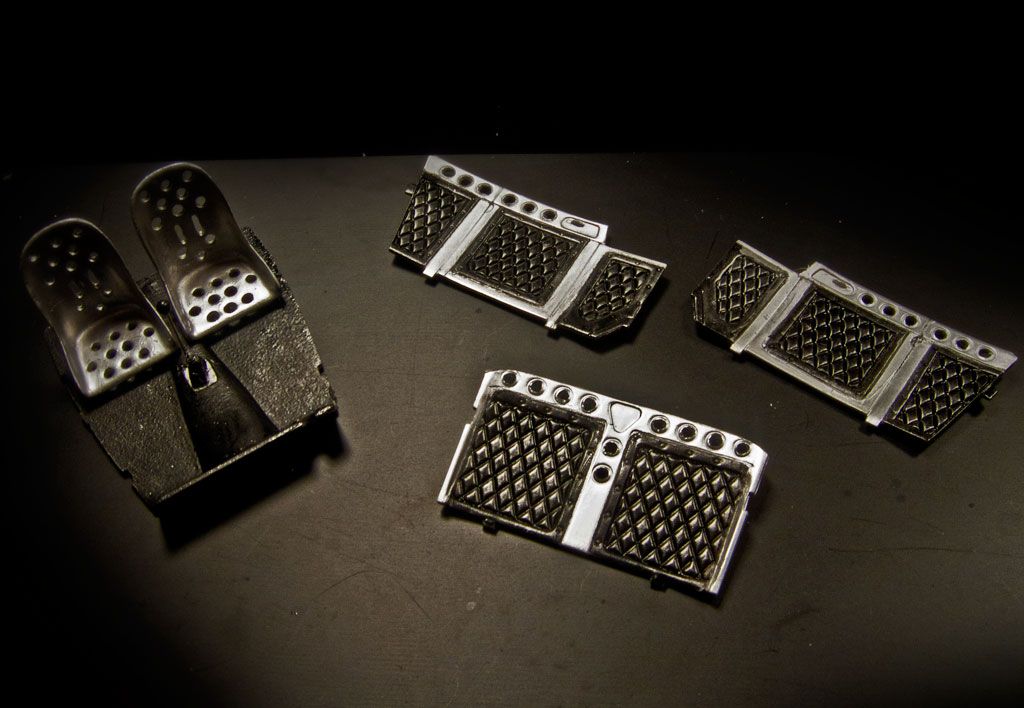
To start with I was surprised to see that the “holes” in the interior were missing from the kit. At first I thought Revell had wimped out by leaving the holes filled and including decals to indicate the dark areas on the original car. But more close examination of the 1:1 indicates that these “holes” are not holes at all, but indentations which are then filled with padded upholstery material. In my mind’s eye I wanted holes. So I drilled out all the “holes” so they are now holes, period.
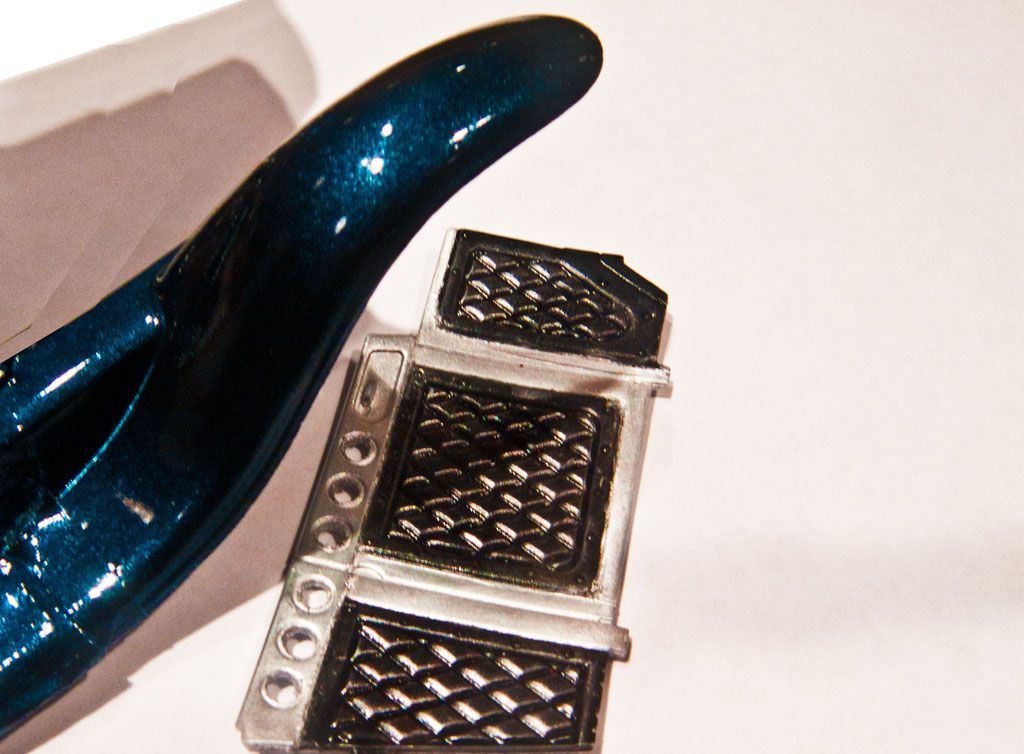
My vision of the interior was more along the lines of a bare metal look with just a smattering of upholstery. So I decided on finishing it out in Testors Aluminum Plate Metalizer with the black diamond pattern panels of the 1:1. To emphasize this look I have replaced the kit seats with drilled out resin items from ThePartsBox.com, again finished in Aluminum Plate.
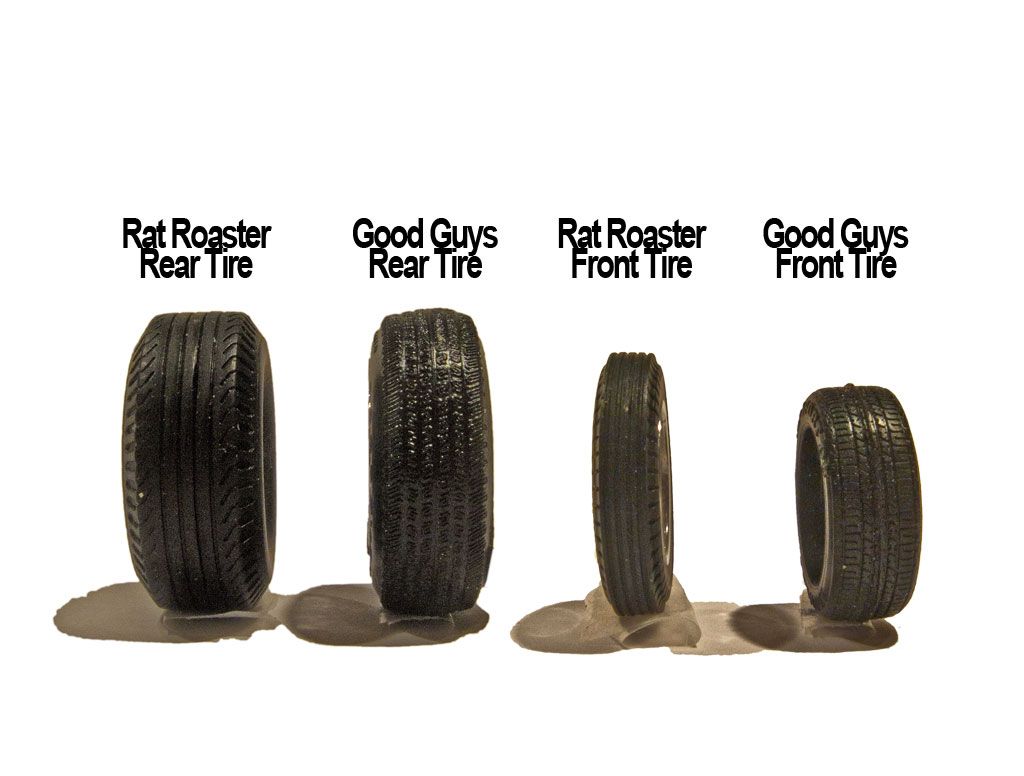
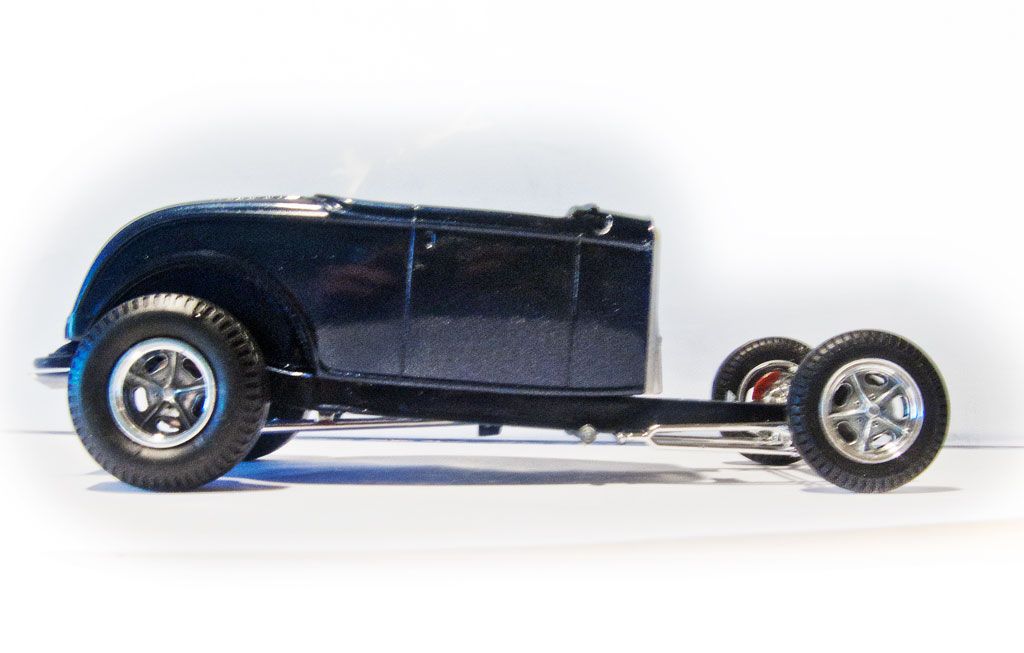
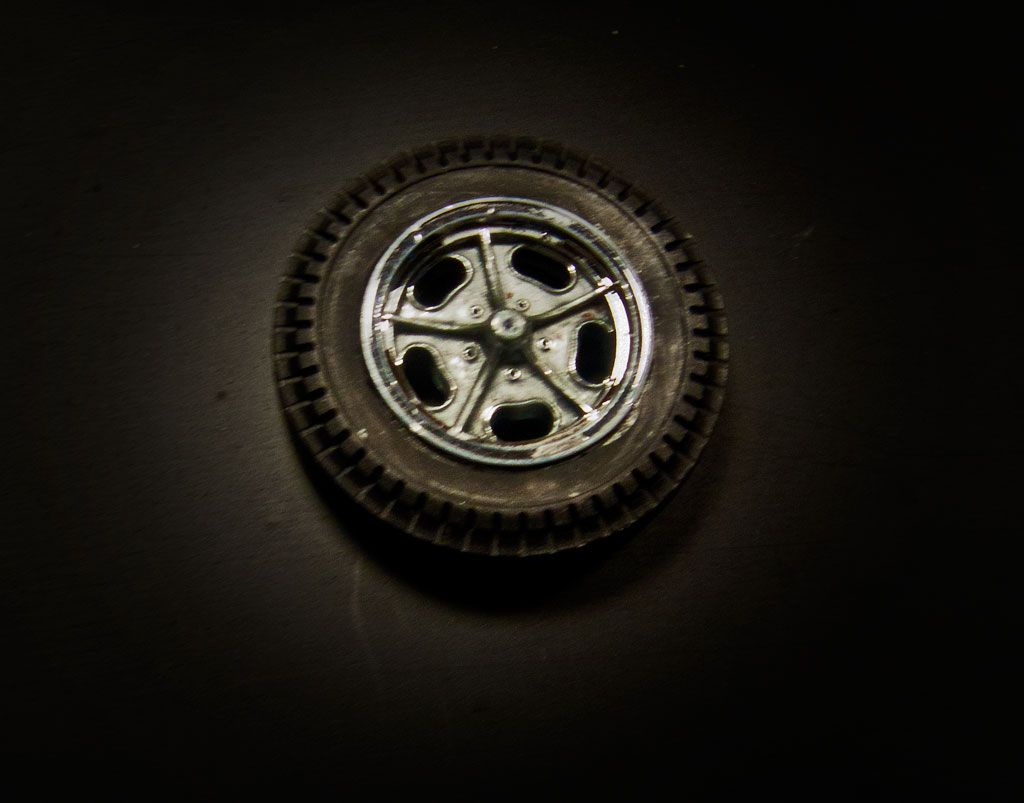
One of the most successful details of the 1:1, something which Revell has translated quite well in kit form, are the wheels and tires. To give the wheels a bit more realism I painted out the centers in Metalizer Stainless Steel to mimic the finish on the 1:1.
These details have set the tone of the overall look. I’ll keep as much of the rest of the car as I can, sticking with the kit Small Block Chevy, but changing the hood to a more stock appearing one. The blower is a problem for me, lacking definition and personality, so I’m looking into alternate carburetion and/or blower setups (GMC 671, a brace of ‘97’s, injection? – not decided yet). The exhausts are problematic too. Do I keep them to emphasize the link with the 1:1, do I refinish them to tone down the kit chrome, do I substitute block huggers for them and go with full side panels, or do I build out a set of Limefires (which I have started on…)? Again I’m not sure.
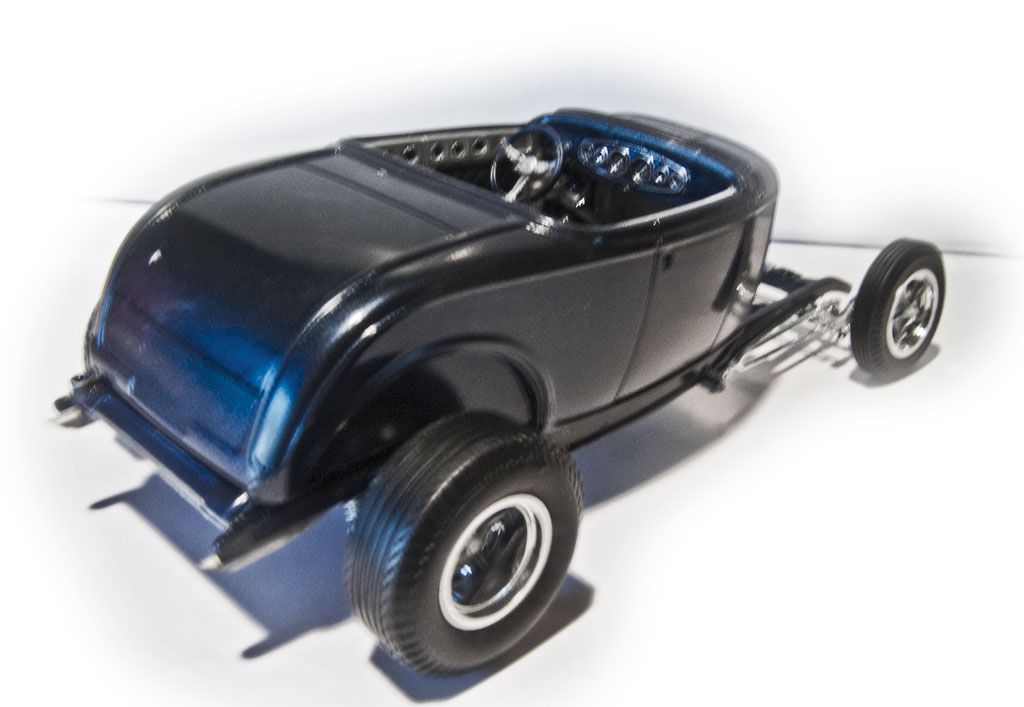
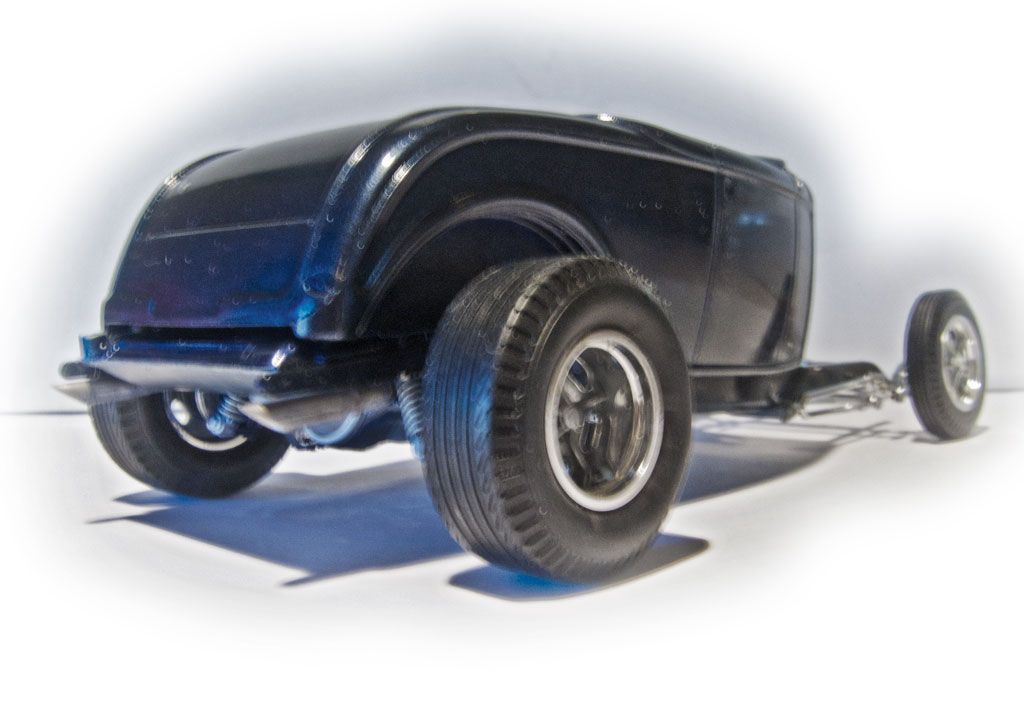
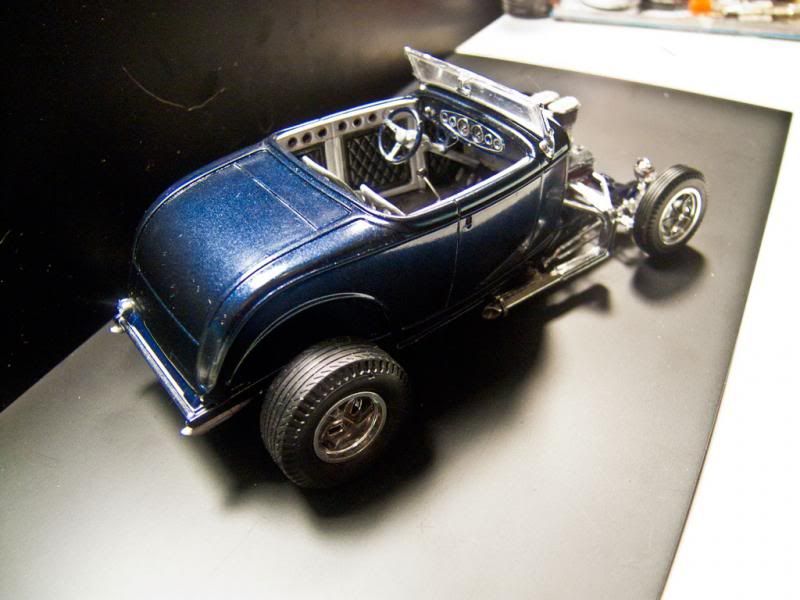
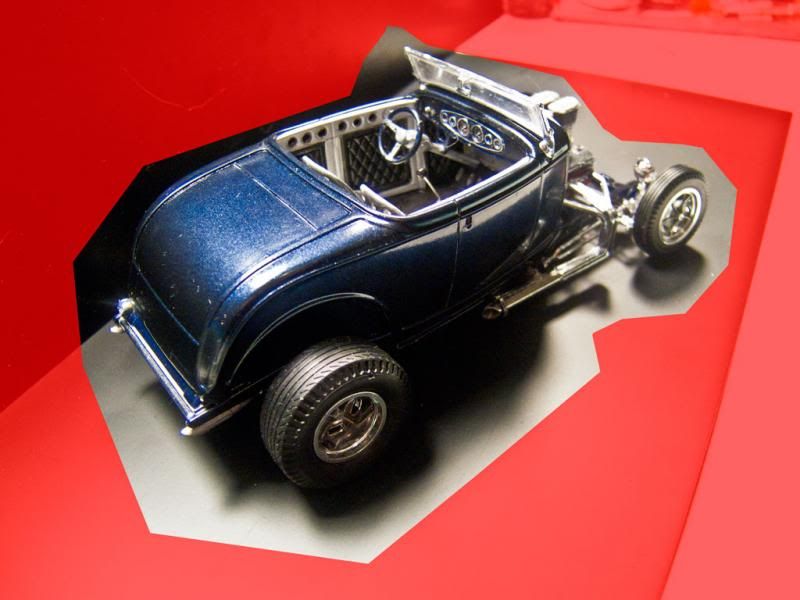
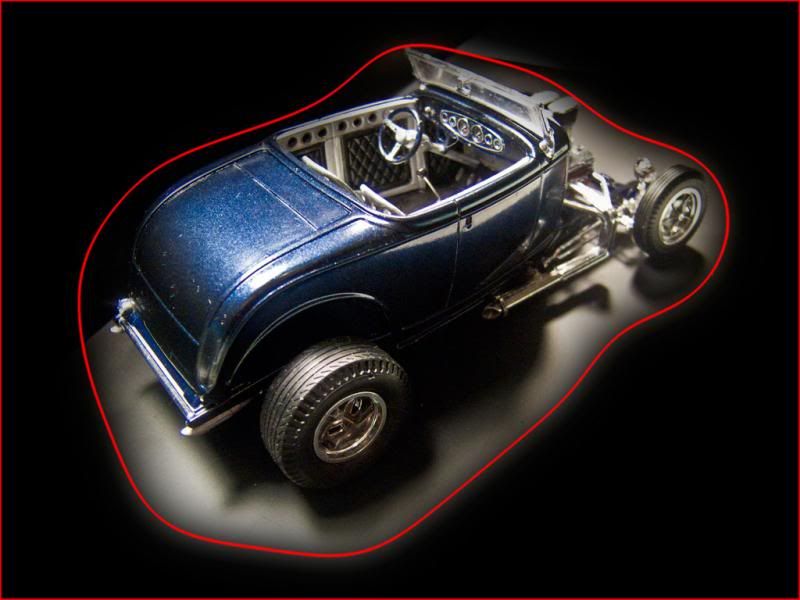
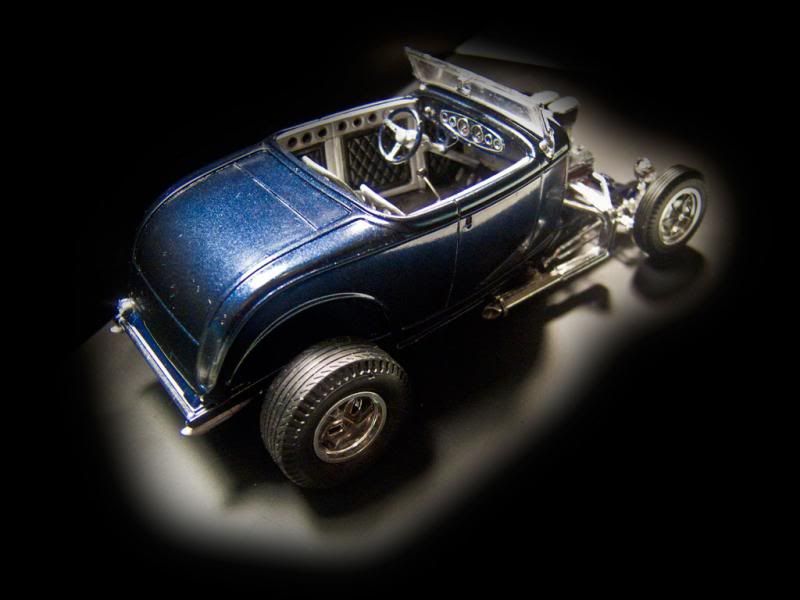
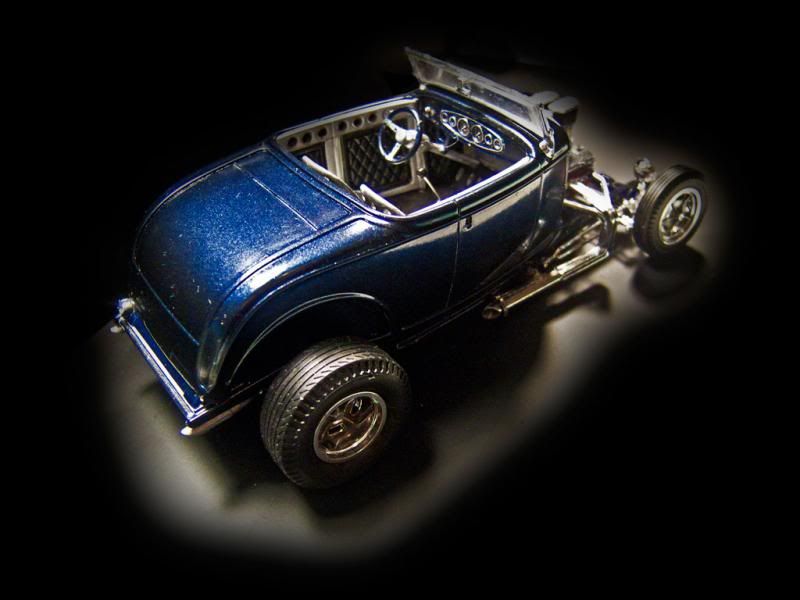
Meanwhile, I’ve settled on a color. At first I considered a deep red metallic, but it didn’t go all that well with the strong silver and black interior. Then I considered a black car, but I decided it would just be too black all over. So I’ve gone with a rich, deep blue metallic, Duplicolor Nightshadow Pearl, applied over white primer and a silver metallic base for a candy effect. Below is a color check I did.
I think the overall look will be far more conservative than the 1:1, but I’m trying to avoid backdating this car too much, partially because I’m planning a straight-up traditional highboy for later this year, complete with buggy spring rear end, juice brakes, either flathead or early OHV power, tuck and roll interior, etc. That car will almost certainly be done in black, another reason I wanted to avoid black for this one.
As usual, this build is somewhat of an improvisation, so we’ll see where it takes me. In the meantime…
Thanx for loookin’,
B.


