A Deuce Resurrected - '32 Ford HiBoy Roadster
Dec 5, 2013 23:14:41 GMT -4
Post by BERNARD "HOT ROD" KRON on Dec 5, 2013 23:14:41 GMT -4
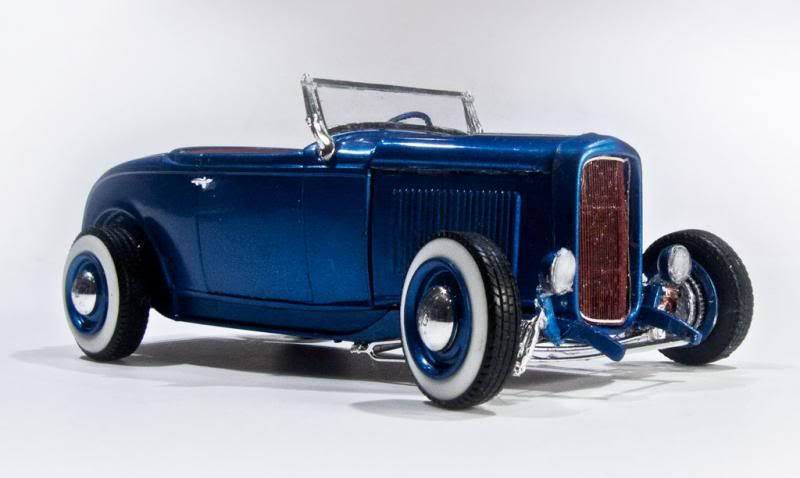
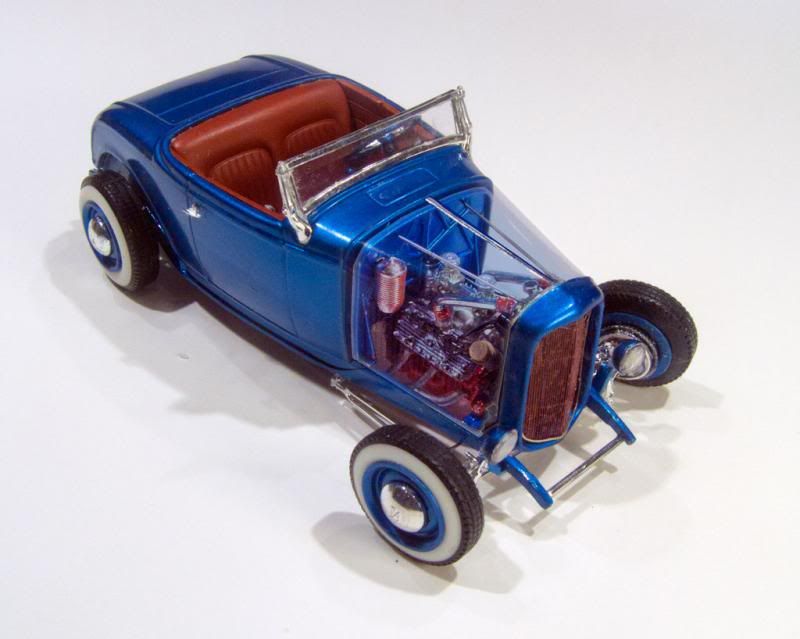
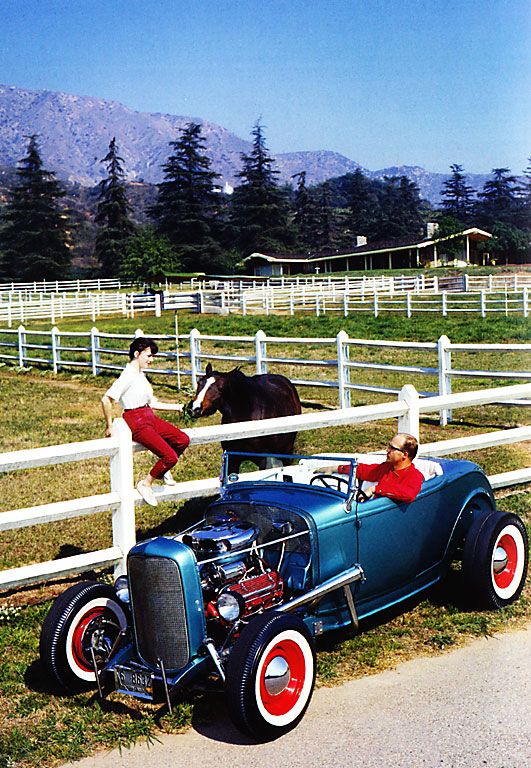
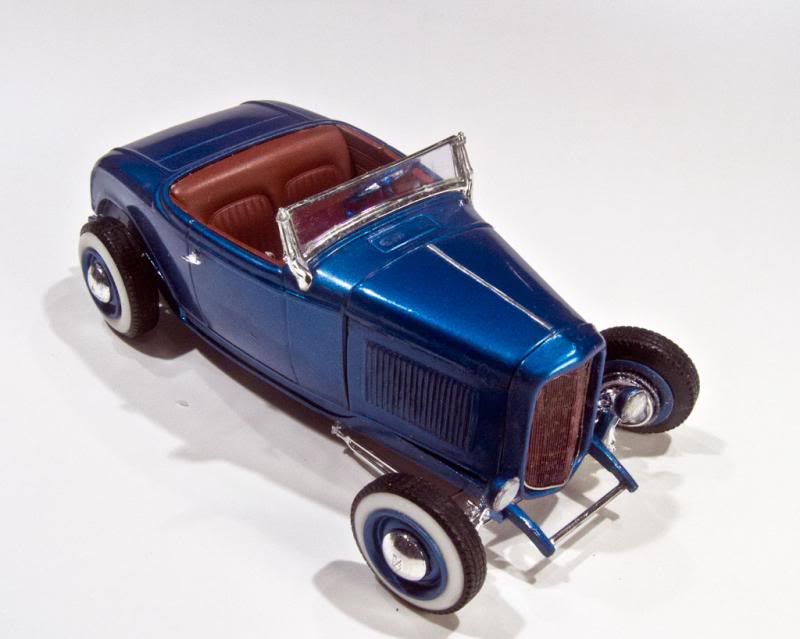
A Deuce Resurrected – ’32 Ford Roadster set aside 5 years ago, finished at last.
(More pictures below)
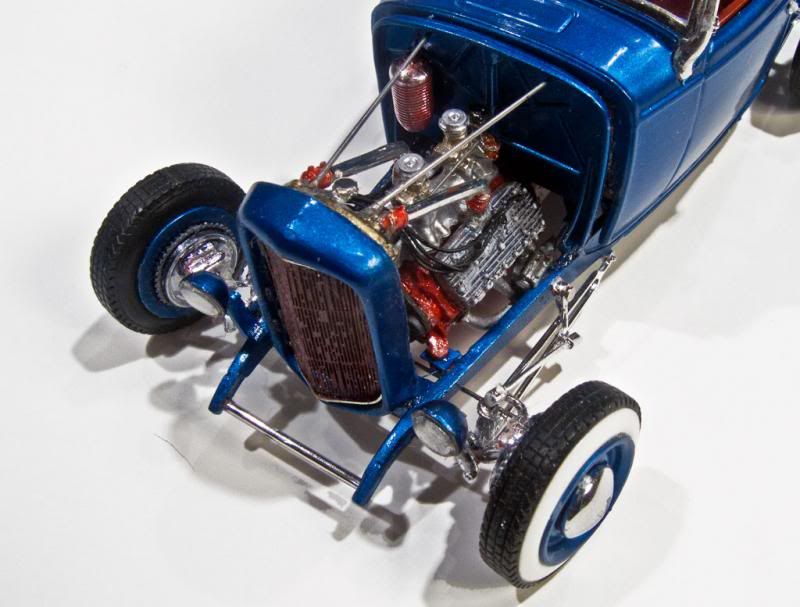
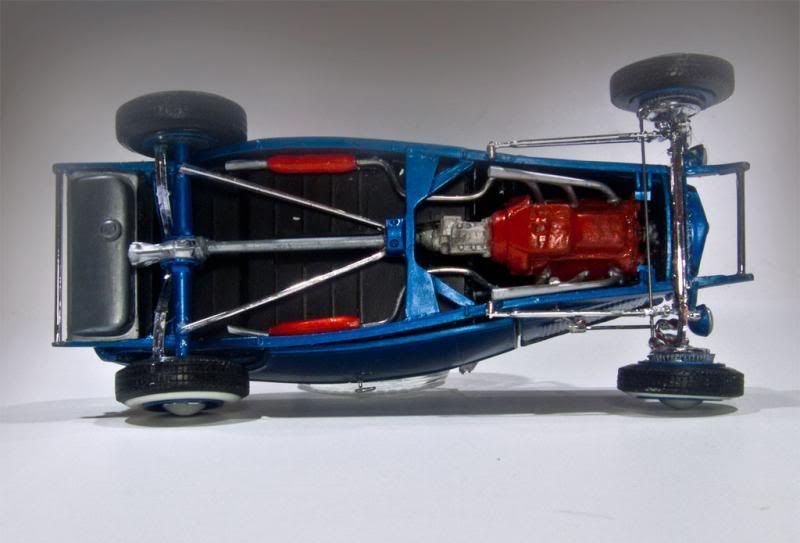
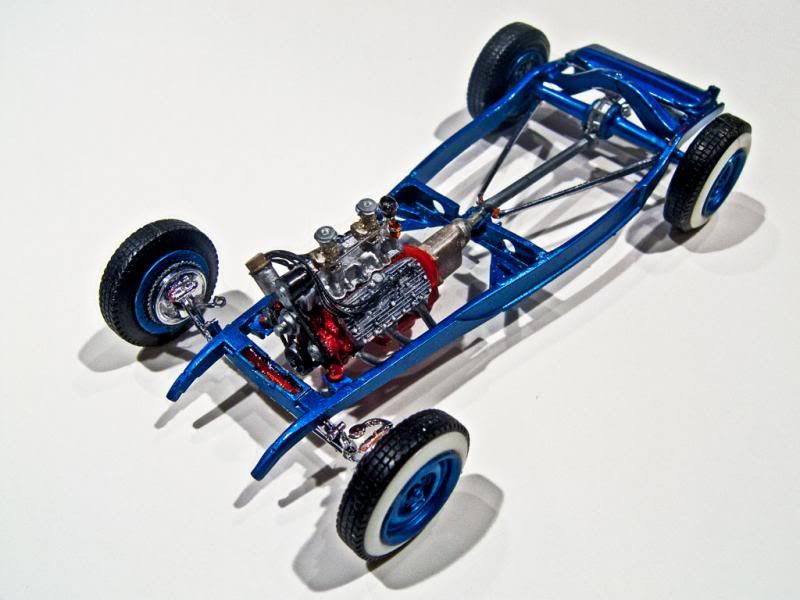
I started this car over 5 years ago, just a few months after returning to modeling, having been off the bench for decades. Because I’d been away from the hobby a long time the phenomenon of the aftermarket casters was a revelation to me. I’m afraid I went a little overboard in those first days and bought far more resin bits than I knew how to handle. Combined with some pretty rusty skills I was riding for a fall. Sure enough in starting this project I got in way over my head. I had ordered a whole lot of parts from Replicas & Miniatures of Maryland with an eye towards building a car largely based on their offerings. This was to be it: a ’32 Ford HiBoy Roadster to be done in classic 50’s style using a buggy-spring chassis mastered by Rik Hoving for RepMin, combined with a Flathead built around RepMin parts such as heads, distributor drive, carbs, air cleaners, etc.
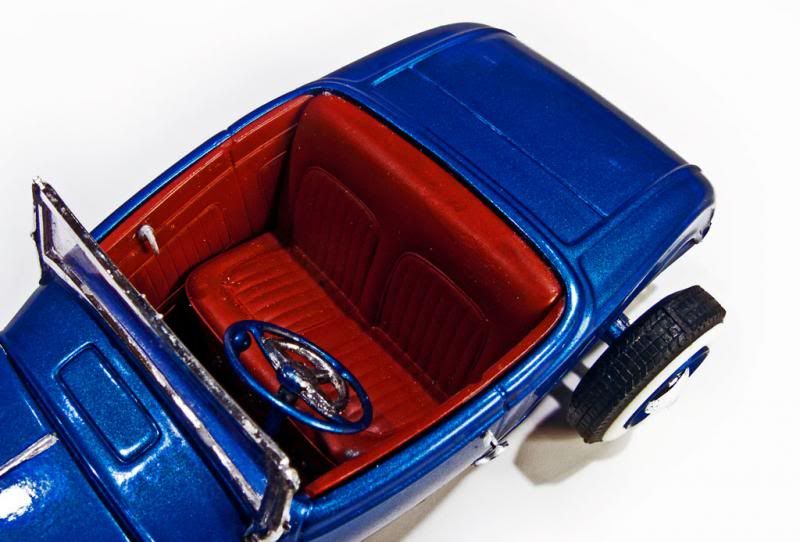
A stock style firewall from RepMin was installed and I included RepMin’s resin grill shell made for the Model Car Garage p/e Deuce grill. The interior was to be the Lyle Willits mastered tuck’n’ roll offering. The whitewalls and steelies were also courtesy of RepMin. My early mockups include baby Moons and chrome beauty rings from an AMT ’40 Ford Sedan Delivery kit, but these found their way on to another build. In the final version I have used “V8” hubcaps from a Revell ’40 Ford Standard, and decided against beauty rings because they removed too much color from the wheels. The Hoving traditional chassis used chassis parts from the Revell “rat rod” ‘29/’30 Ford RPU/Sedan kits and I also threw in a quick change rear end and finned Buick drum brakes, also from RepMin.
As it turned out the Hoving chassis was quite thin and fragile. Combined with the decidedly fiddly Revell posable front suspension and novice modeling skills when it came to handling resin parts, the project began to go south pretty quickly. First of all I painted and assembled as I went along, rarely test fitting and giving little thought to the sequence I should follow for clean work and structurally strong results. Soon I was breaking parts, smudging paint and generally messing up bad. The project went into a Revell ’32 Ford Roadster box marked “50’s HiBoy” and sat on a shelf until last month when I thought I would tackle it again.
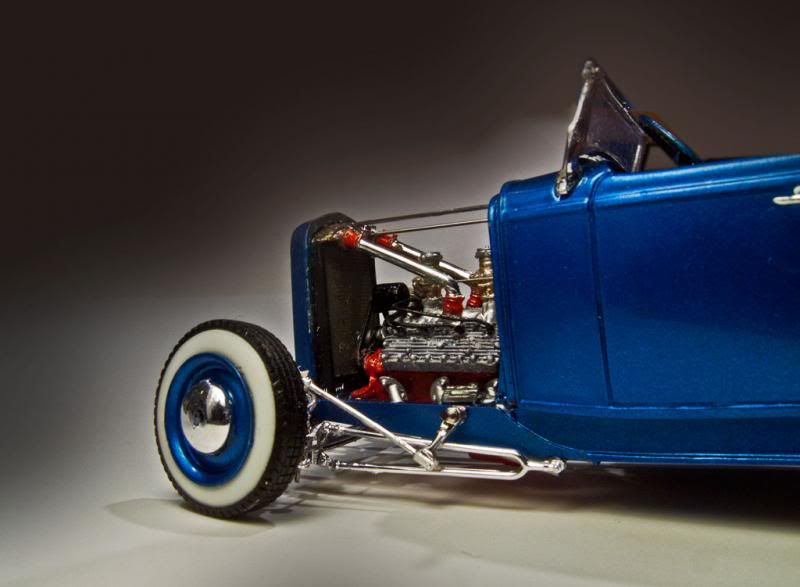
Over the years I had forgotten how badly things had gone. The car had fallen on the floor at one point and the right front horn of the chassis rails had snapped off. I had fiddled with the front suspension so much I had worn off the kingpins on the left side of the front axle. And there were whole areas I had never settled on, like what front locating arms I would use (I have used chrome hairpins from a Revell Deuce 5-window kit – which didn’t exist back then…). I had even attempted to detail the finned heads by giving them a red wash which only succeeded in turning them a lurid chrome pink! Yikes!
Fortunately I’ve learned a few things since then. So I started by ditching the resin chassis, only saving the rear suspension and the rear crossmember. I fabricated a new chassis based on Revell Deuce rails. The stance on the original build was horrible, either pan flat or even slightly nose high in some mockups. This time around I did my usual thing of shaving some leaves off the front spring and hogging out the front crossmember in order to lower the front end. This routine is generally good for at least 3+ inches of additional drop and the new chassis has a conservative but handsome big ‘n’ little rake to it. I repaired the left front corner by drilling out the axle end and installing wire kingpins. With new heads, intake manifold and carbs (the originals had long ago been stolen for another build) from a Revell ’40 Ford Street Rod the motor got a thorough freshening up. And finally I was able to do something I had wanted to do originally but simply didn’t know how to do cleanly – chop the windshield, which has about 2 ½ scale inches taken out of it.
The body and chassis were painted Duplicolor Aquamarine Blue five years ago and somehow it has survived intact. To say it is well cured would be an understatement. It polished out nicely. The AMT ’49 Ford steering wheel also survived. The interior was finished in Testors Acryl Guards Red.
Today I doubt that I would rely quite so heavily on aftermarket parts. At the time I might have had a dozen kits in my stash and had very little knowledge about where to find the parts I needed for my builds.
Overall it looks very much like I wanted it to look back then, but with far fewer compromises than I had originally been willing to make.
Thanx for lookin’,
B.
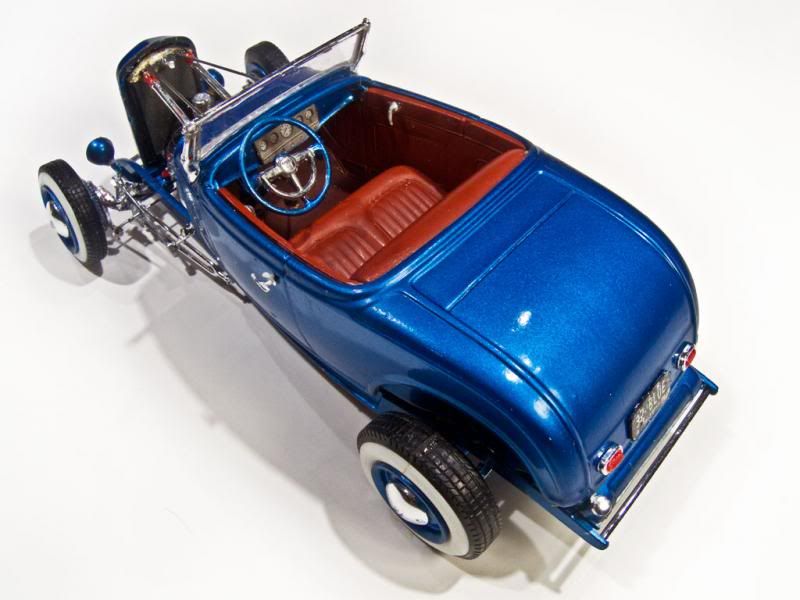
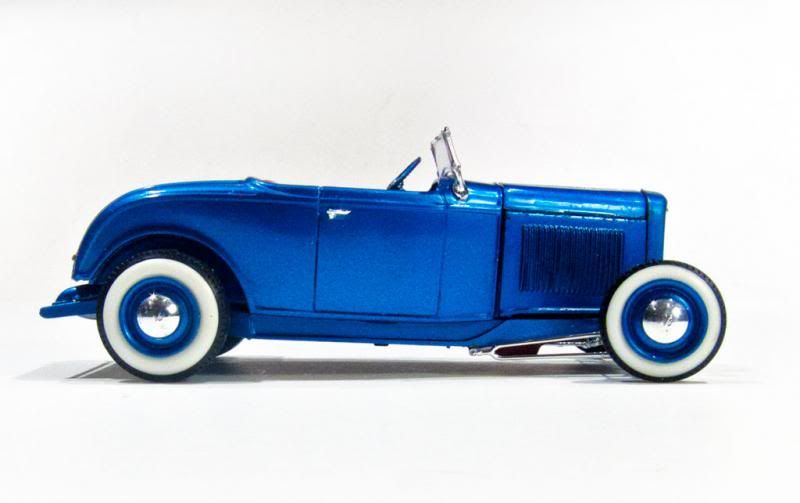
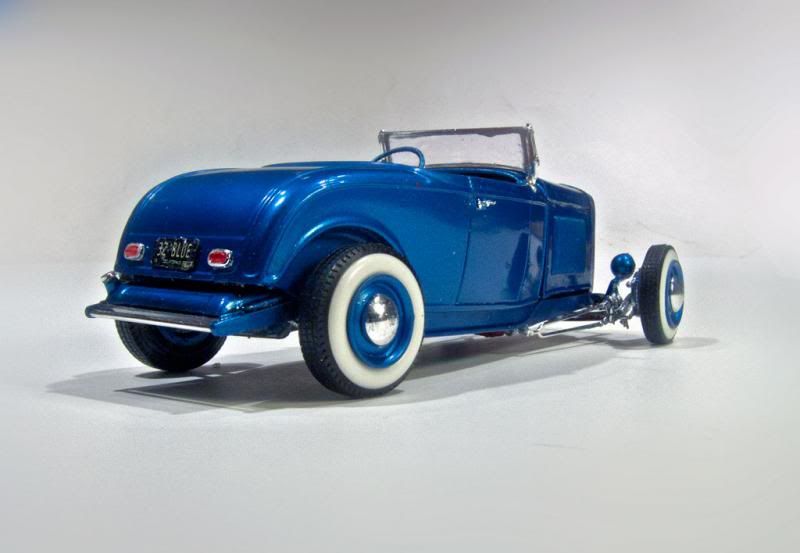
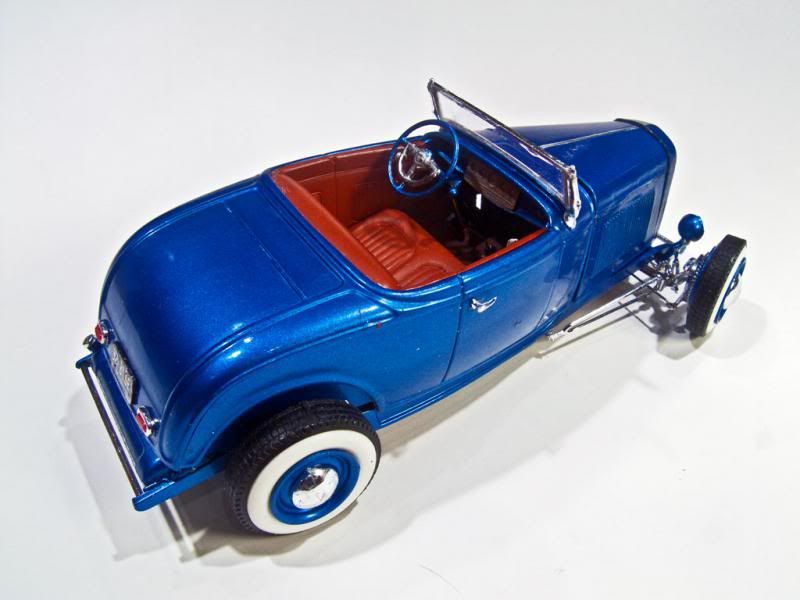
Here are some additional detail shots:
