A/Fuel Front Engine Dragster - 06-13 Update
May 31, 2015 20:16:24 GMT -4
Post by BERNARD "HOT ROD" KRON on May 31, 2015 20:16:24 GMT -4
There are certain subjects I keep returning to repeatedly as my skills and techniques evolve. One is the ’32 Ford, in particular the various Revell Deuce kits, and the other is the classic early to mid-sixties front engine dragster, in particular the super-light, super quick Junior Fuelers. In the second case my preferred base kit tends to be the MPC Ramchachargers Dragster kit. I like the ultra-low legs-under rear axle stance and the just-right proportions of its 160” wheelbase chassis.
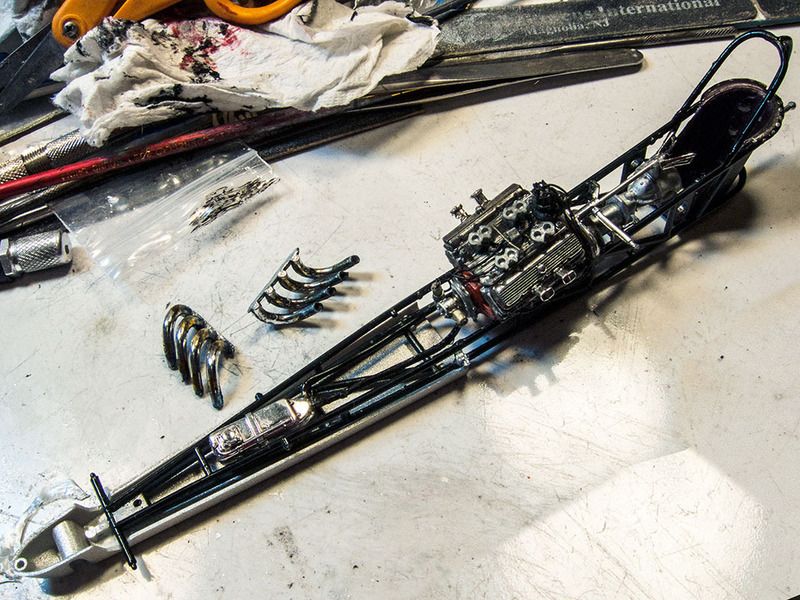
I’m always thinking about my next dragster but these days I only seem to build one every 12 months or so. Now is that time, and this one won’t quite be a Junior Fueler, although I’m using the Ramchargers kit. This time I’m running a Big Block Chevy instead of the small block motor that was de rigeur if you were running a Junior Fueler back in the day (310 c.i. limit). This is because of a really pretty Enderle fuel injector setup I bought from Speed City Resin a while back. It only fits the Chevy Big Block so, BBC it is!
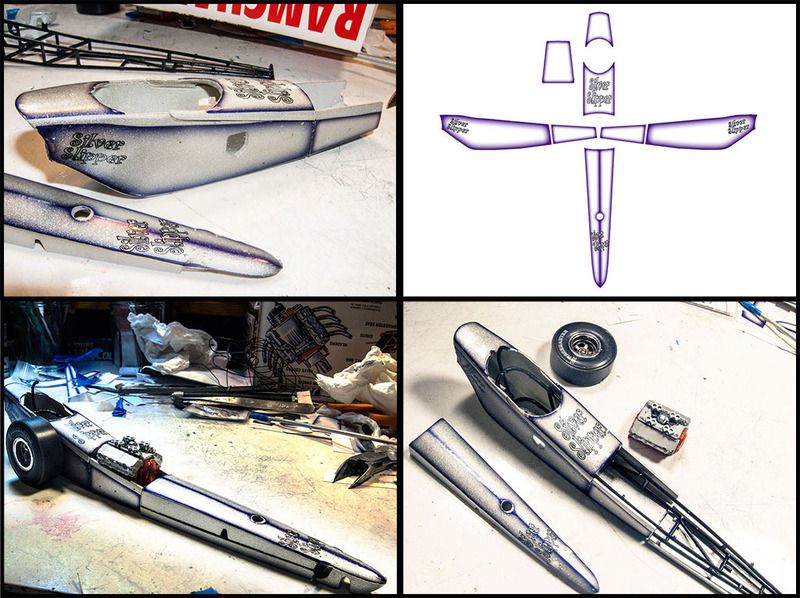
With this project I decided to experiment with large area decals to create a fogged panel style paint job. The underlying color is DupliColor Metalcast metallic Ground Coat which is a near perfect 1/25th scale silver metalflake. If you print homemade decals on an inkjet printer you will quickly realize that the colors are very transparent and the base color shows through strongly. So inkjet color decal + silver metallic base coat = kandy color. Using Photoshop I made decals to create the fogged panel paint job I was thinking of. It took some experimenting but the technique works quite well. This one is very simple but now that I’ve figured it out I think I’ll be using it some more.
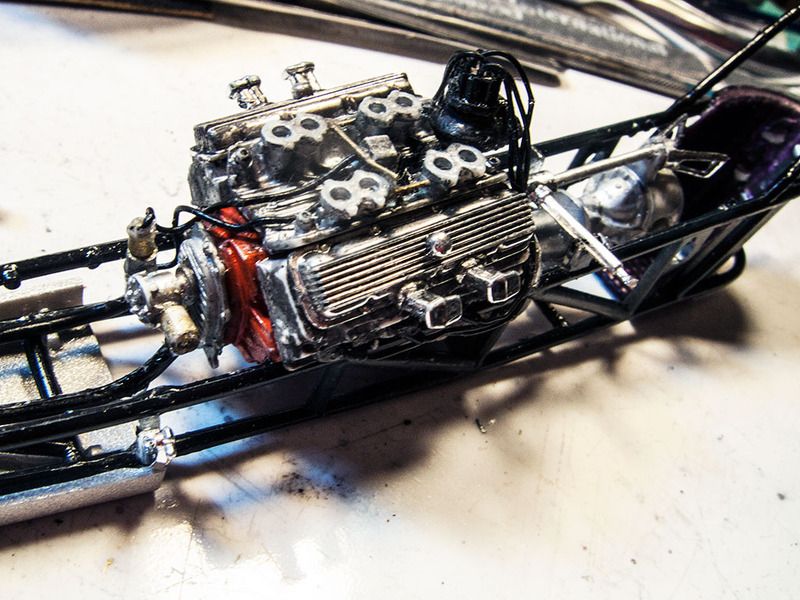
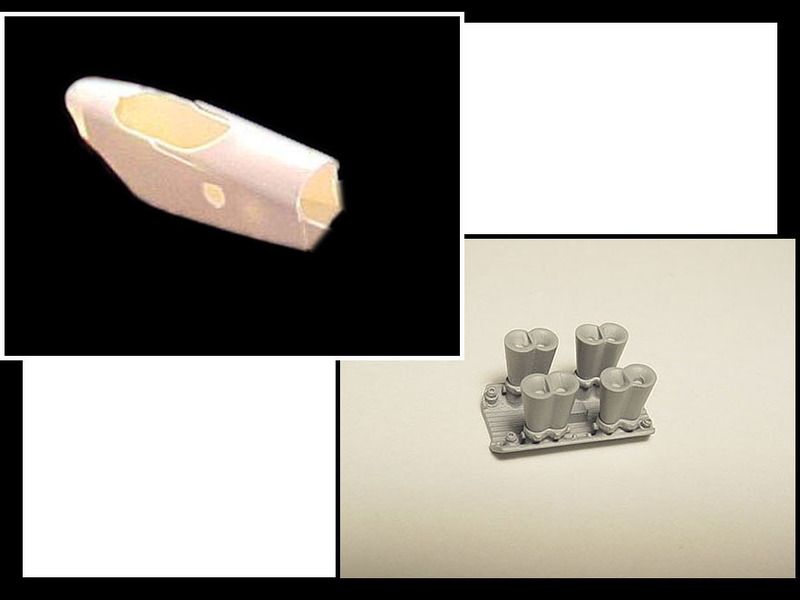
Below are a couple of composite pictures. The first one shows the Western Manufacturing Special body shell from Altered States Models I used, and the Enderle injectors from Speed City Resins. The second shows the decal layout I made and the decals applied to the silver body. All that remains in the bodywork area is applying trade decals and clear coating everything. The chassis is about half done and I’ve begun work on plumbing and detailing the motor.
Thanx for lookin’,
B.


